Live streaming the meetups and conference for ServerlessDays Amsterdam - Part 1
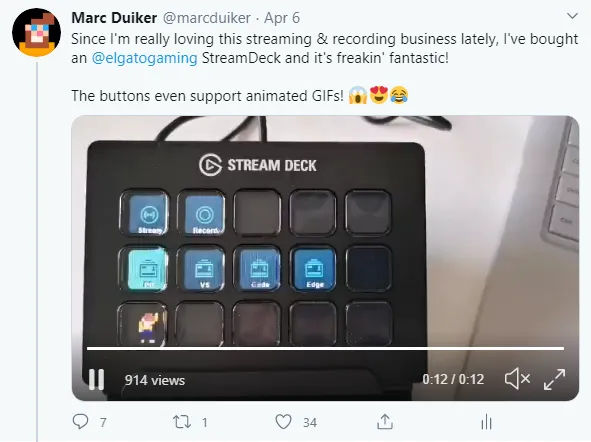
Everyone is live streaming!
Well, ok, not everyone, but a lot of meetups & conferences which were previously only offline and IRL have an online presence these days. It really lowers the boundary of attending these events, and I think this is great!
ServerlessDays Amsterdam (which I’m co-organizing) is also moving online for both the meetups and the conference. In this post, I’m highlighting some details on how we’re setting this up.
Streaming setup basics
I was already using StreamLabs OBS (SLOBS) and regular OBS for my vlog. I like the level of control these tools offer, and yes, that comes with a steeper learning curve compared to using online conferencing tools like Zoom/Jitsi.
A lot of things have been written recently on how to set up a live streaming/recording system with OBS. So I’m just going to refer to the blogs which I’ve read and highly recommend:
- Take Remote Worker/Educator webcam video calls to the next level with OBS, NDI Tools, and Elgato Stream Deck - Scott Hanselman
- Online meetups with OBS and Skype - Henk Boelman
- Streaming a Community Event on YouTube - Sharing the Technologies and Learnings from Virtual Azure Community Day - Maarten Balliauw
Special thanks goes out to Cloud Advocate Henk Boelman, who gave me detailed advice of using a virtual machine (VM) in Azure in combination with Skype, NDI Tools, and OBS. It works like a charm! ❤️
Having a dedicated VM in the cloud for streaming has quite some benefits over using my local laptop:
- I can get a VM which is much more powerful than my laptop.
- I can share the VM with others.
- My internet connection is no longer the bottleneck for the live stream.
Are there downsides to using a VM? Yes, sure, the most obvious one is the price. You have to pay for a VM. The larger the VM, the more you pay. I’m lucky that I have Azure credits, thanks to being an Azure MVP. But even if I didn’t have these credits, I would still do it. This VM is only used for a couple of hours each month. So I’m never paying the full month price, just a fraction of it.
Specific setup for ServerlessDays Amsterdam
For Serverless Amsterdam I ended up provisioning a GPU enabled virtual machine (Win 10 OS) on Azure, size Standard NV6, with the following specs:
- 6 virtual CPUs
- 56 GiB memory
- 1 GPU
- 8 GiB GPU memory
Enable the GPU utilisation
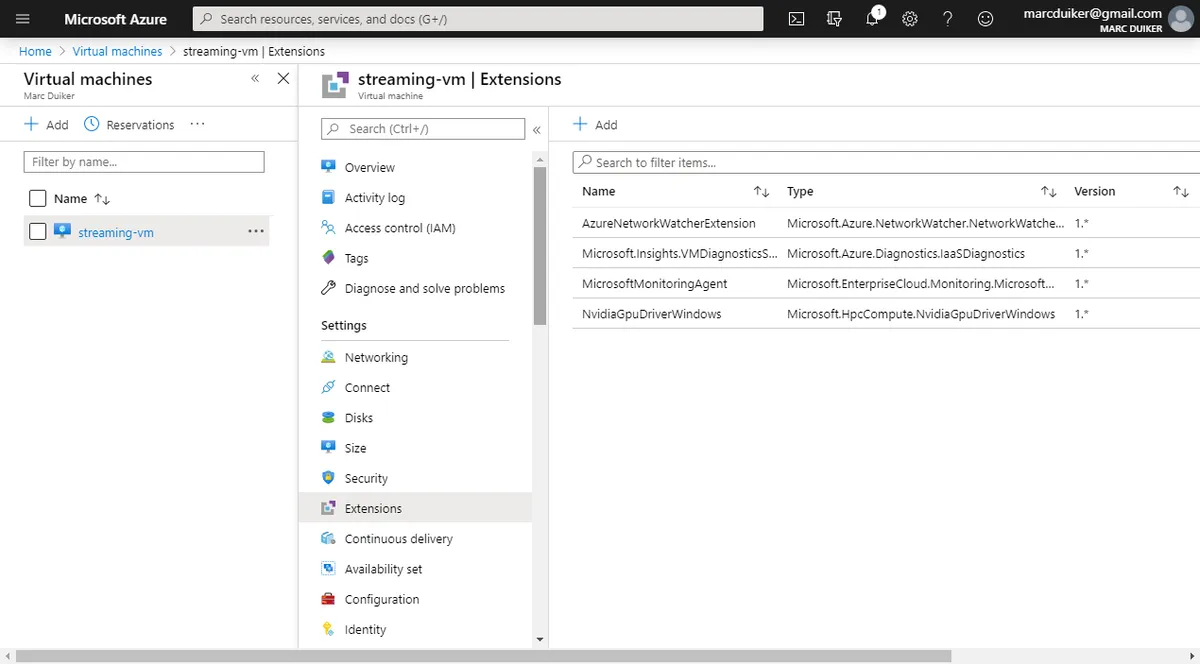
What I didn’t realize initially is that the VM has no preinstalled drivers to actually use the GPU. So make sure to install the NVIDIA GPU drivers. I did that by installing the NVIDIA GPU Driver Extension though the Extensions blade in the Azure Portal:
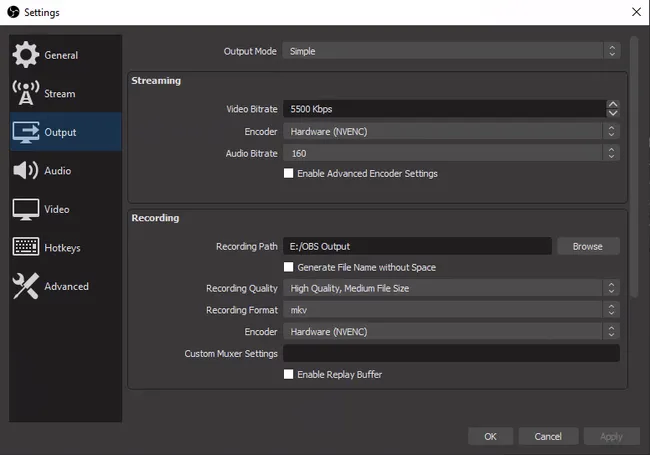
Now we can use the hardware encoding (NVENC) in OBS:
Redirect local USB devices to the VM
I purchased an Elgato Stream Deck so I can easily switch between scenes in OBS and set timers. I really like this small piece of hardware since it’s very customizable.
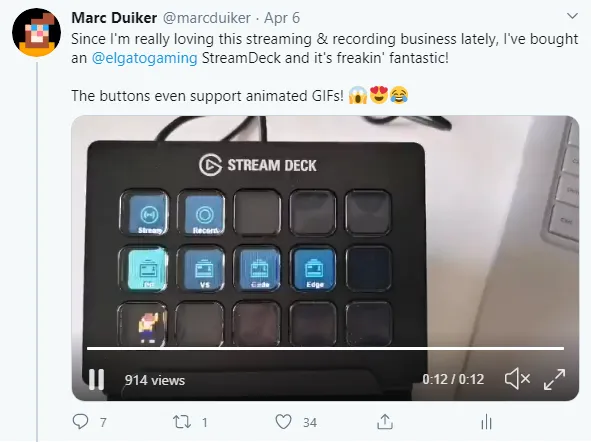
The Stream Deck can be used OOTB when OBS is running locally but I’d also want to use this device in OBS running in the VM. However local USB devices are not connected by default when a remote desktop session is used. Lucky we can use a technique called RemoteFX USB redirection which is enabled by changing two group policies, one for the local machine (client) and one for the remote VM (host).
Group Policy Setting for the Local Machine
- Open the Local Group Policy Editor (use the windows search bar and type
group) - Navigate to Administrative Templates > Windows Components > Remote Desktop Services > Remote Desktop Connection Client > RemoteFX USB Device Redirection
- Set Allow RDP redirection of other supported RemoteFX USB devices from this computer to
Enabled. - Select
Administrators & Usersfor the RemoteFX USB Redirection Access Rights options.
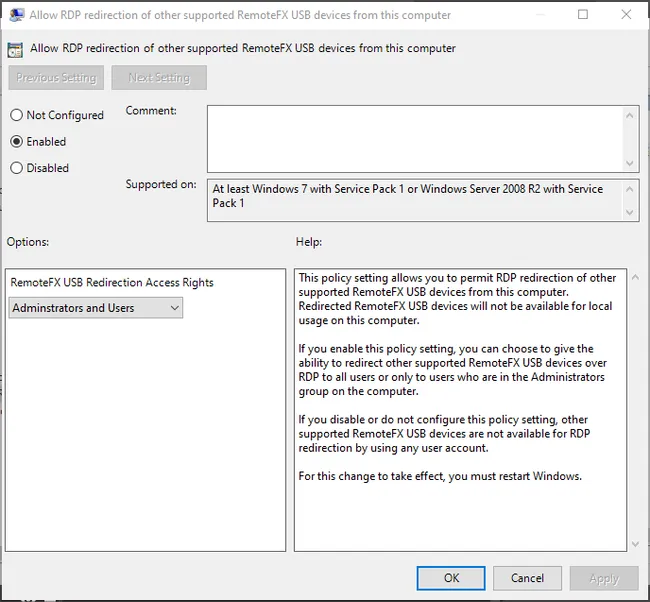
In a command prompt run: gpupdate /force to enfore the updated policy (a restart might be required as well).
Group Policy Setting for the remote VM
- Open the Local Group Policy Editor and navigate to Administrative Templates > Windows Components > Remote Desktop Services > Remote Desktop Session Host > Device and Resource Redirection
- Set the Do not allow suported Plug and Play device redirection to
Disabled.

In a command prompt run: gpupdate /force to enfore the updated policy (a restart might be required as well).
I might be stating the obvious, but the Stream Deck software/drivers also need to be installed on the VM.
Starting the Remote Desktop Connection
Now a remote desktop connection can be started from the local machine, and the USB connections can be selected, which are redirected to the VM.
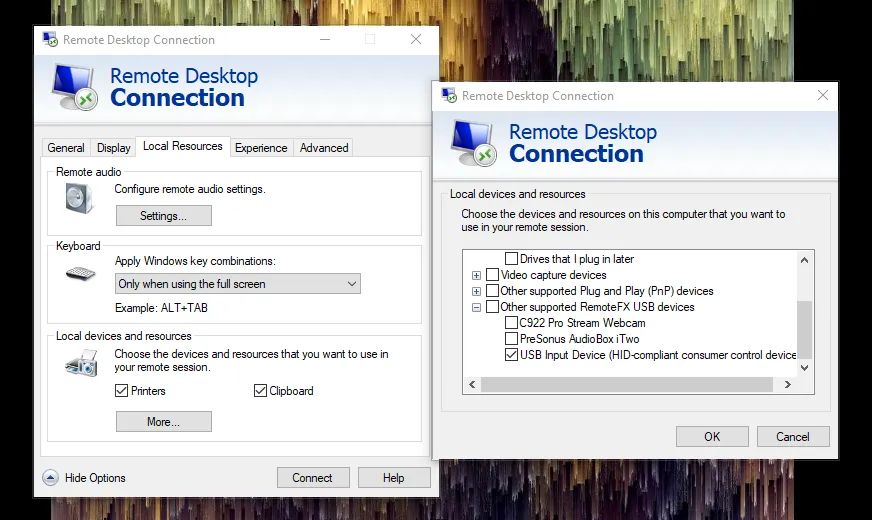
Now both hard and software are set up to use the Stream Deck on the remote VM.
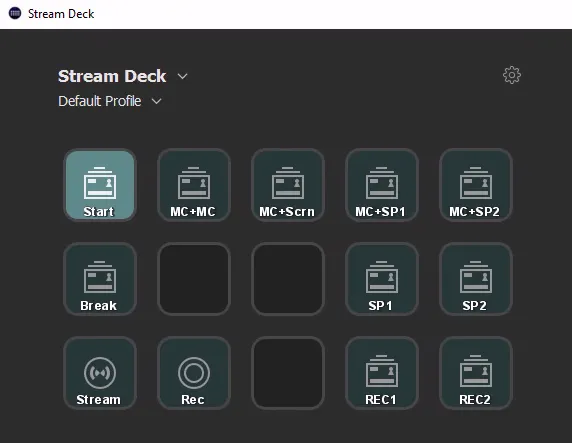
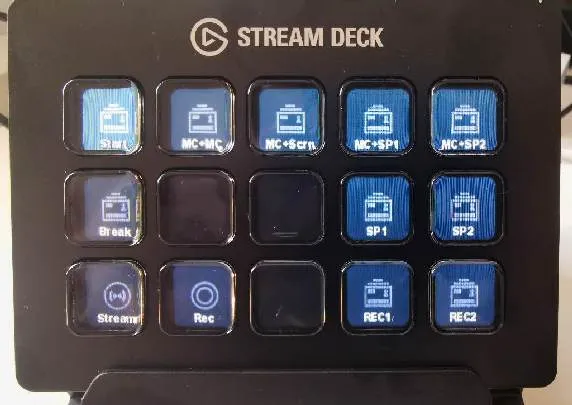
In the next part I’ll show more details about the OBS setup we’re using for ServerlessDays Amsterdam.

